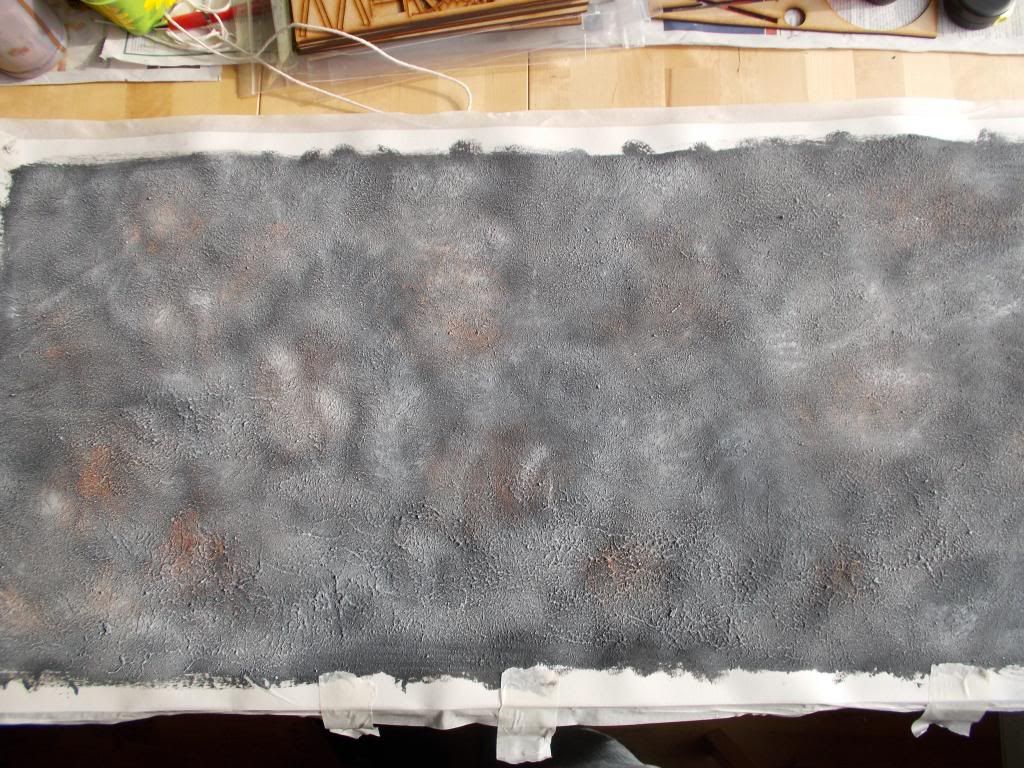
Hello again. Sorry today's post is a bit later, work problems. Today I thought continue talking about Malifaux Mats because I have made a start on another one. This one is a little different because I have used textured paint. I wouldn't treat this much as a 'How to' because it hasn't gone perfectly, but it might give you ideas of your own (plus you can help me if you know how to solve the problem!) First of all, because I said I would, here is a picture of the entire tiled map I made:

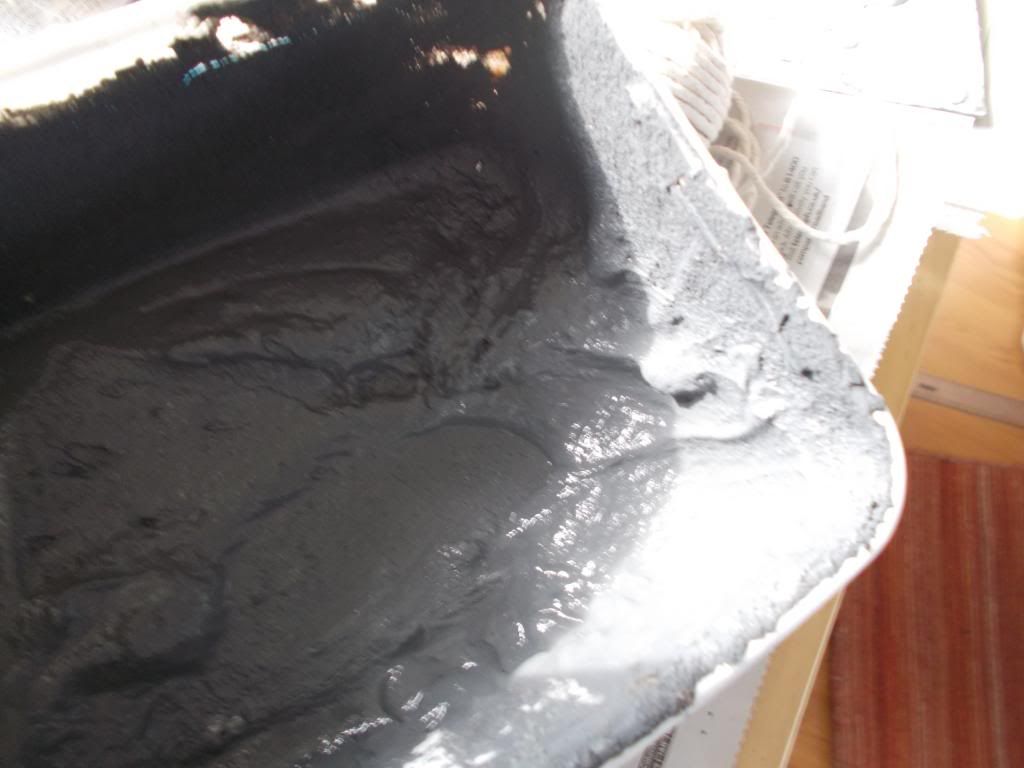
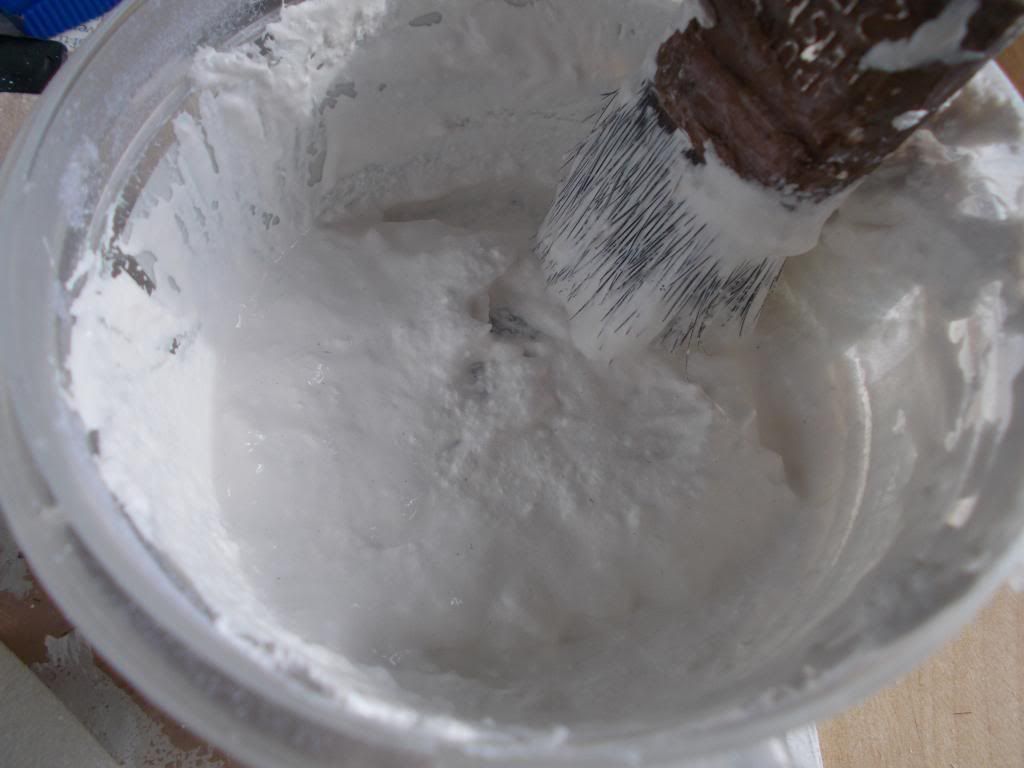
Anyway, onto making stuff! First of all you need to make your textured paint. For this I used 'Soft Black', which I have mentioned a couple of times now so I thought I would add that it's from the B&Q colours range and that it is roughly equivalent to chadron granite/ skavenblight dinge. Added to the paint I put in kiln dried sand, which is the same stuff you put on your figures and you are much better off buying from a DIY store, and PVA, the same stands for this aswell. Proportions are approximate I'm afraid, but I'd guess around equal of all parts, edging towards more paint. Basically it should look like this.
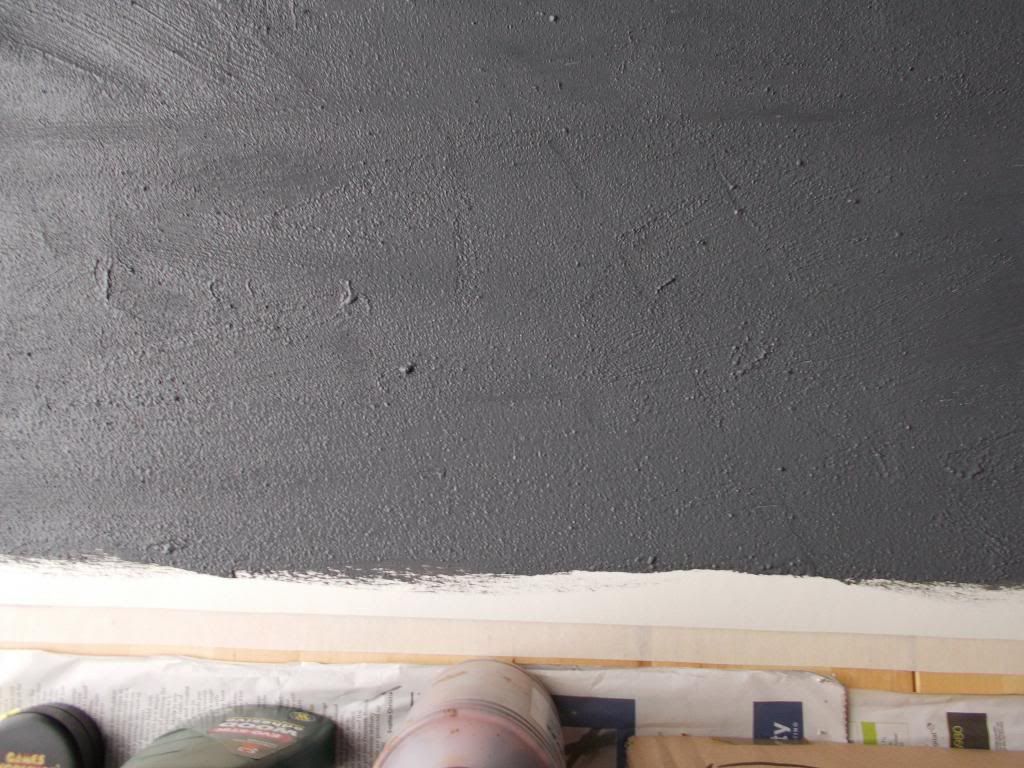
Next up, same as last time you need to cut out your wallpaper and then tape it down. Once that's done you just need to paint on your textured paint. Immediately after you have applied your paint you should go back over the surface and essentially stipple, this will help avoid leaving brush strokes visible on your mat. Now this is where my issue arose, my mat, despite being taped down, still 'warped' (if that's the right term). I think it's because my tape was not strong enough. Once again, I will provide more info when I have it.
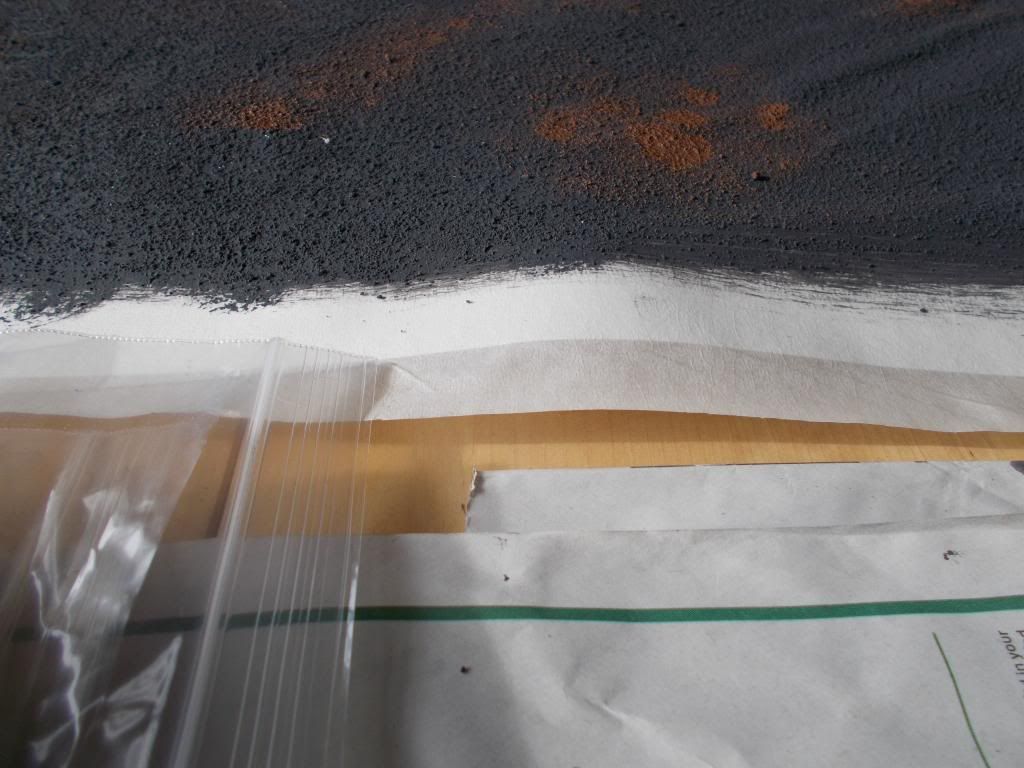
Once this is dry, it will take a long time, you want to break up the colour a bit. To do this I sponged Calthan Brown, in patches across the board the reason I keep using this colour is because I have vast quantities from the Ctiadel Board making set.
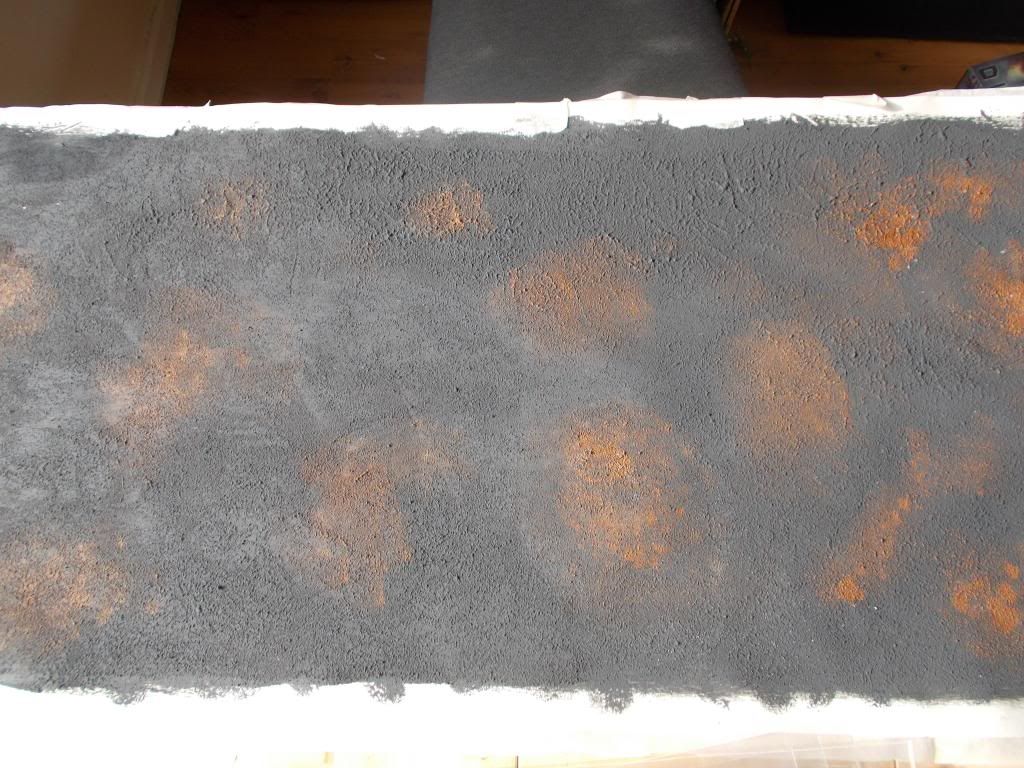
After that was dry, I then dry brushed some light grey (I still had loads of my previous base coat mix for the graveyard board, so I used that) all over. When drybrushing it is best to use small circular motions, again to avoid getting obvious paintbrush strokes.
Dragging the mat outside, I then gave it a quick dusting with white spray paint, with a very slight emphasis on patches.
Finally I made some snow mix. I made this runnier than I normally do, because I don't want my battlefield to be too 3d, but it was made with PVA, White paint and snow flock (I used the GW stuff, haven't tried alternatives) and a tiny touch of water. This was applied in patches and then once again stippled, to try and make the break bettwen colour patches less severe.
This is what I have so far! I know it's not close to finishing, but give me time! Again, more updates in the future.


excellent stuff may have to get some advice off you for my realm of battle board. wanting to do a frozen tundra style
ReplyDelete