First up, materials. You will need scissors, a mathematical compass, a stapler and staples and the most perfect of substances, PVA. You will also need teddy bear fur. Sounds very odd, but apparently historical gamers use it all the time for terrain. I got mine from here. You will also need some thin card, I used a cereal box.
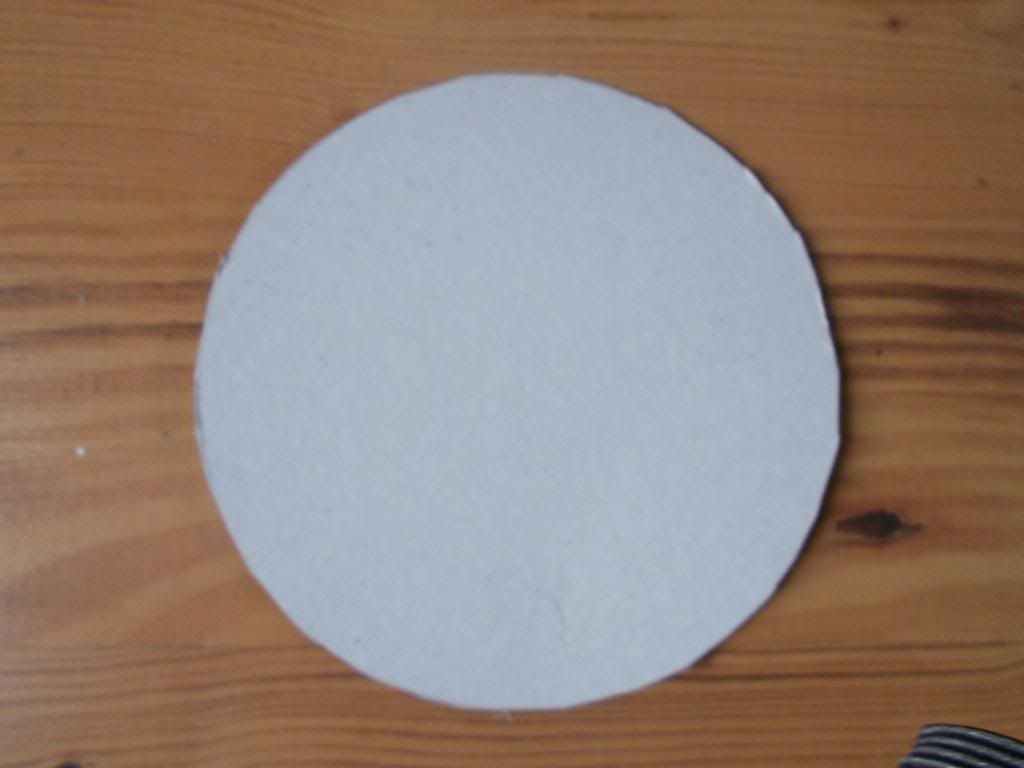
First up you need to cut out your circles. The size of your circles will define how steep your roof is and you want to make sure there is plenty of overlap with the building you are putting it onto (I recommend about a centimeter on all sides).
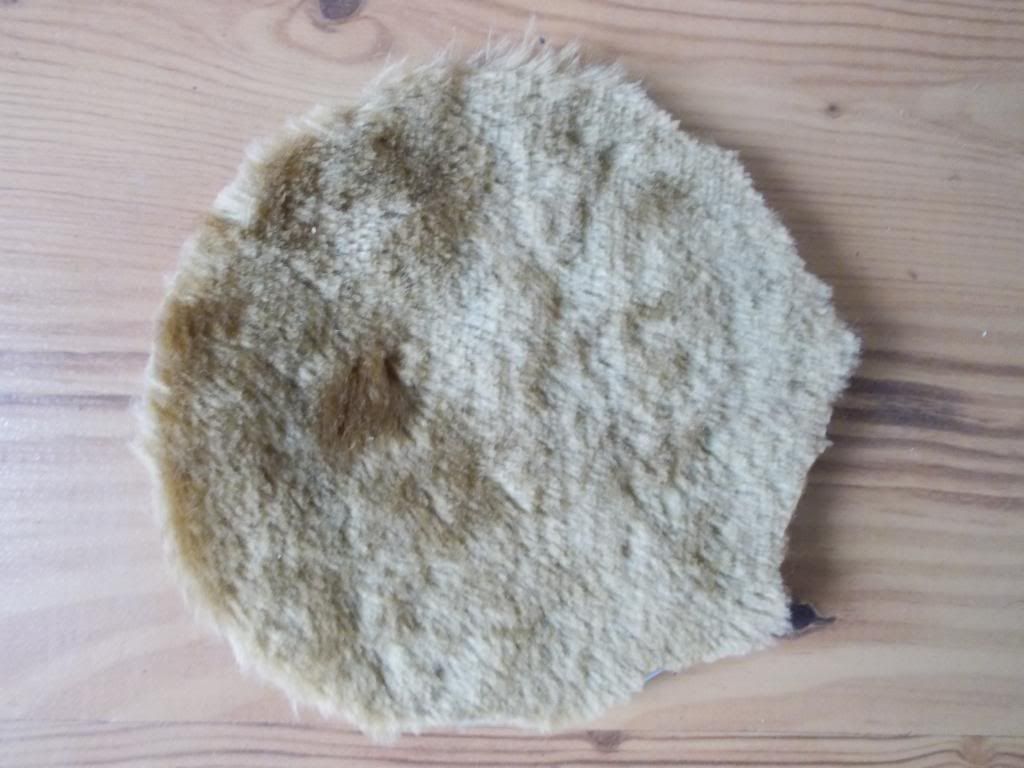
Next up, you need to cut the fur to the same size circle and then staple it to the cardboard. Again, for the purposes of room for error, I would go slightly larger than the card seeing as this is the bit you want to see. I have done this in a different order, with a different method of attachment before, but I found it much easier to staple the fur to the card before you go any further. It's more robust and easier to work with. I recommend having the larger flat bit of the staple at the bottom, but I kept getting it the wrong way round and the fur will cover it anyway :p.
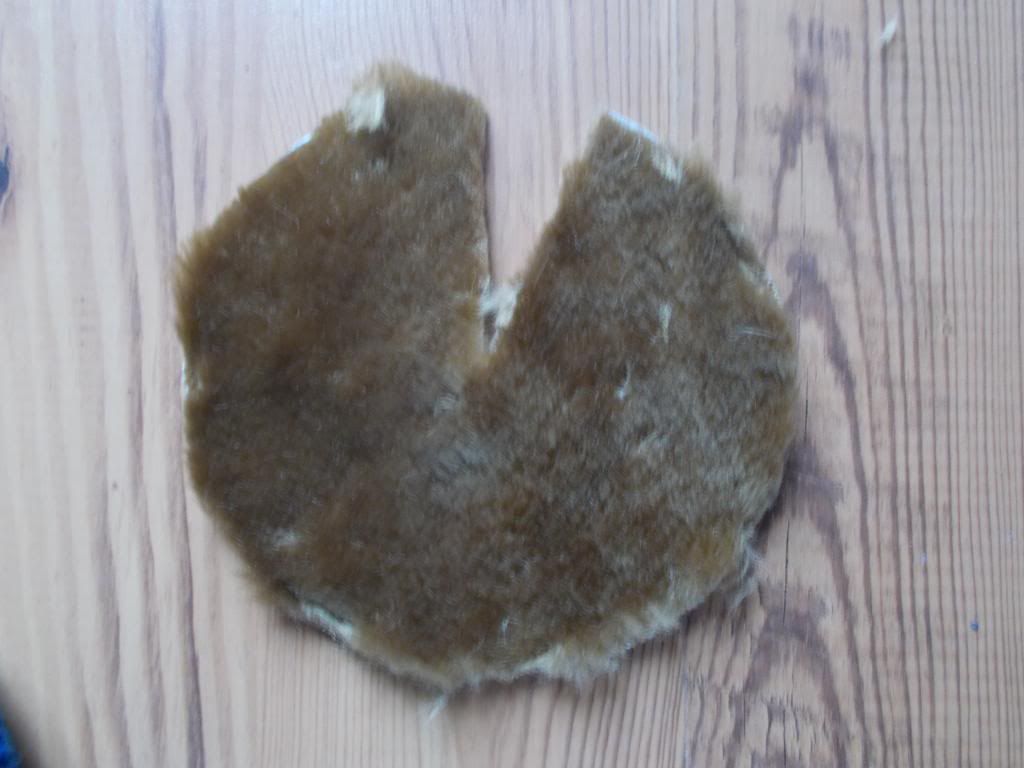
Next you need to cut a wedge out of your circle. Be careful, the point of the triangle needs to be in the centre or your roof will be a funny shape.
Next you need to staple the edges of the circle back together, so you make a cone. At this point I then mix the PVA with water and give the roof a couple of coats (leaving it to dry, obviously) so it has a bit more rigidity and will take paint a lot better (it's what decorators use it for, after all!) Hopefully in the end you will get something a little like this:
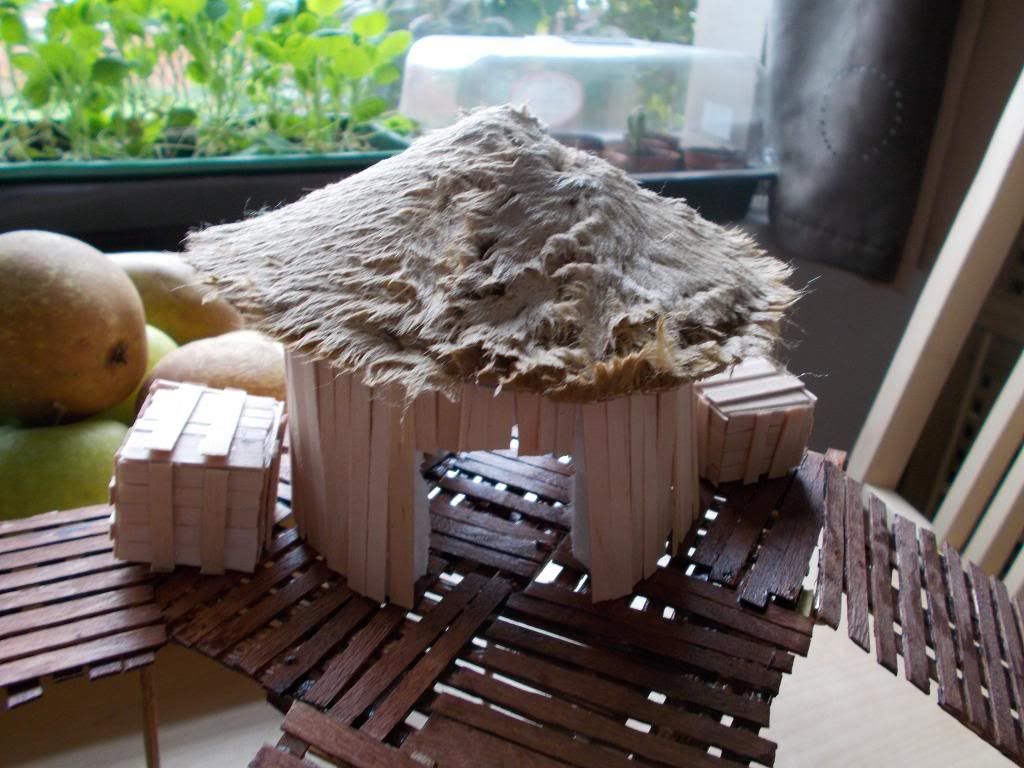
I have now done a few of these and with the crates and the board walk I have now made all of the terrain needed for the Bayou Board. Check it out:

That's me for today, I was originally hoping to post some more of the Gremlin models I have painted but didn't have time before work. Maybe soon, or maybe I should stick with the program and just delay them some more :(. Anyway, until then.
No comments:
Post a Comment